UI Testing in SwiftUI
Writing test is simply assessing in sequence, each component’s role and its expectations.
To understand the tests functions, consider the View below
import SwiftUI

struct MealView: View {
	@State var meals: [String] = []
	@State var mealName: String = ""
	@State var presentSheet: Bool = false
    var body: some View {
      NavigationView {
	VStack {
	  List(meals, id: \.self) { meal in
	     Text(meal)
	  }//List
	   .accessibility(identifier: "mealList")
	}//VStack
	 .sheet(isPresented: $presentSheet, onDismiss: {
	     meals.append(mealName)
	  }, content: {
      	    AddMealScreen(mealTitle: $mealName)
	  })
	   .navigationTitle("Meal")
	   .navigationBarItems(trailing: Button(action: {
		presentSheet = true
	     }, label: {
		Image(systemName: "plus")
	     })//Button
	     .accessibility(identifier: "showAddMealButton")
	 )//navigationBarItems
     }//NavigationView
   }//body
}//MealView

struct AddMealScreen: View {
   @Binding var mealTitle: String
   @Environment(\.presentationMode) var presentationMode
   var body: some View {
	   NavigationView {
	     Form {
		Section {
		  TextField("Enter meal title", text: $mealTitle)
                      .textFieldStyle(RoundedBorderTextFieldStyle())
                      .accessibility(identifier: "addMealTextField")
		}
		Section {
	          Button("Add") {
                         presentationMode.wrappedValue.dismiss()
		  } //Button
			.frame(maxWidth: .infinity)
			.accessibility(identifier: "addMealButton")
	        }
	    }//Form
		.navigationTitle("Add Meal")
	}//NavigationView
  }//body
}Note: accessibility(identifier: ) is used in unit testing to access any view.
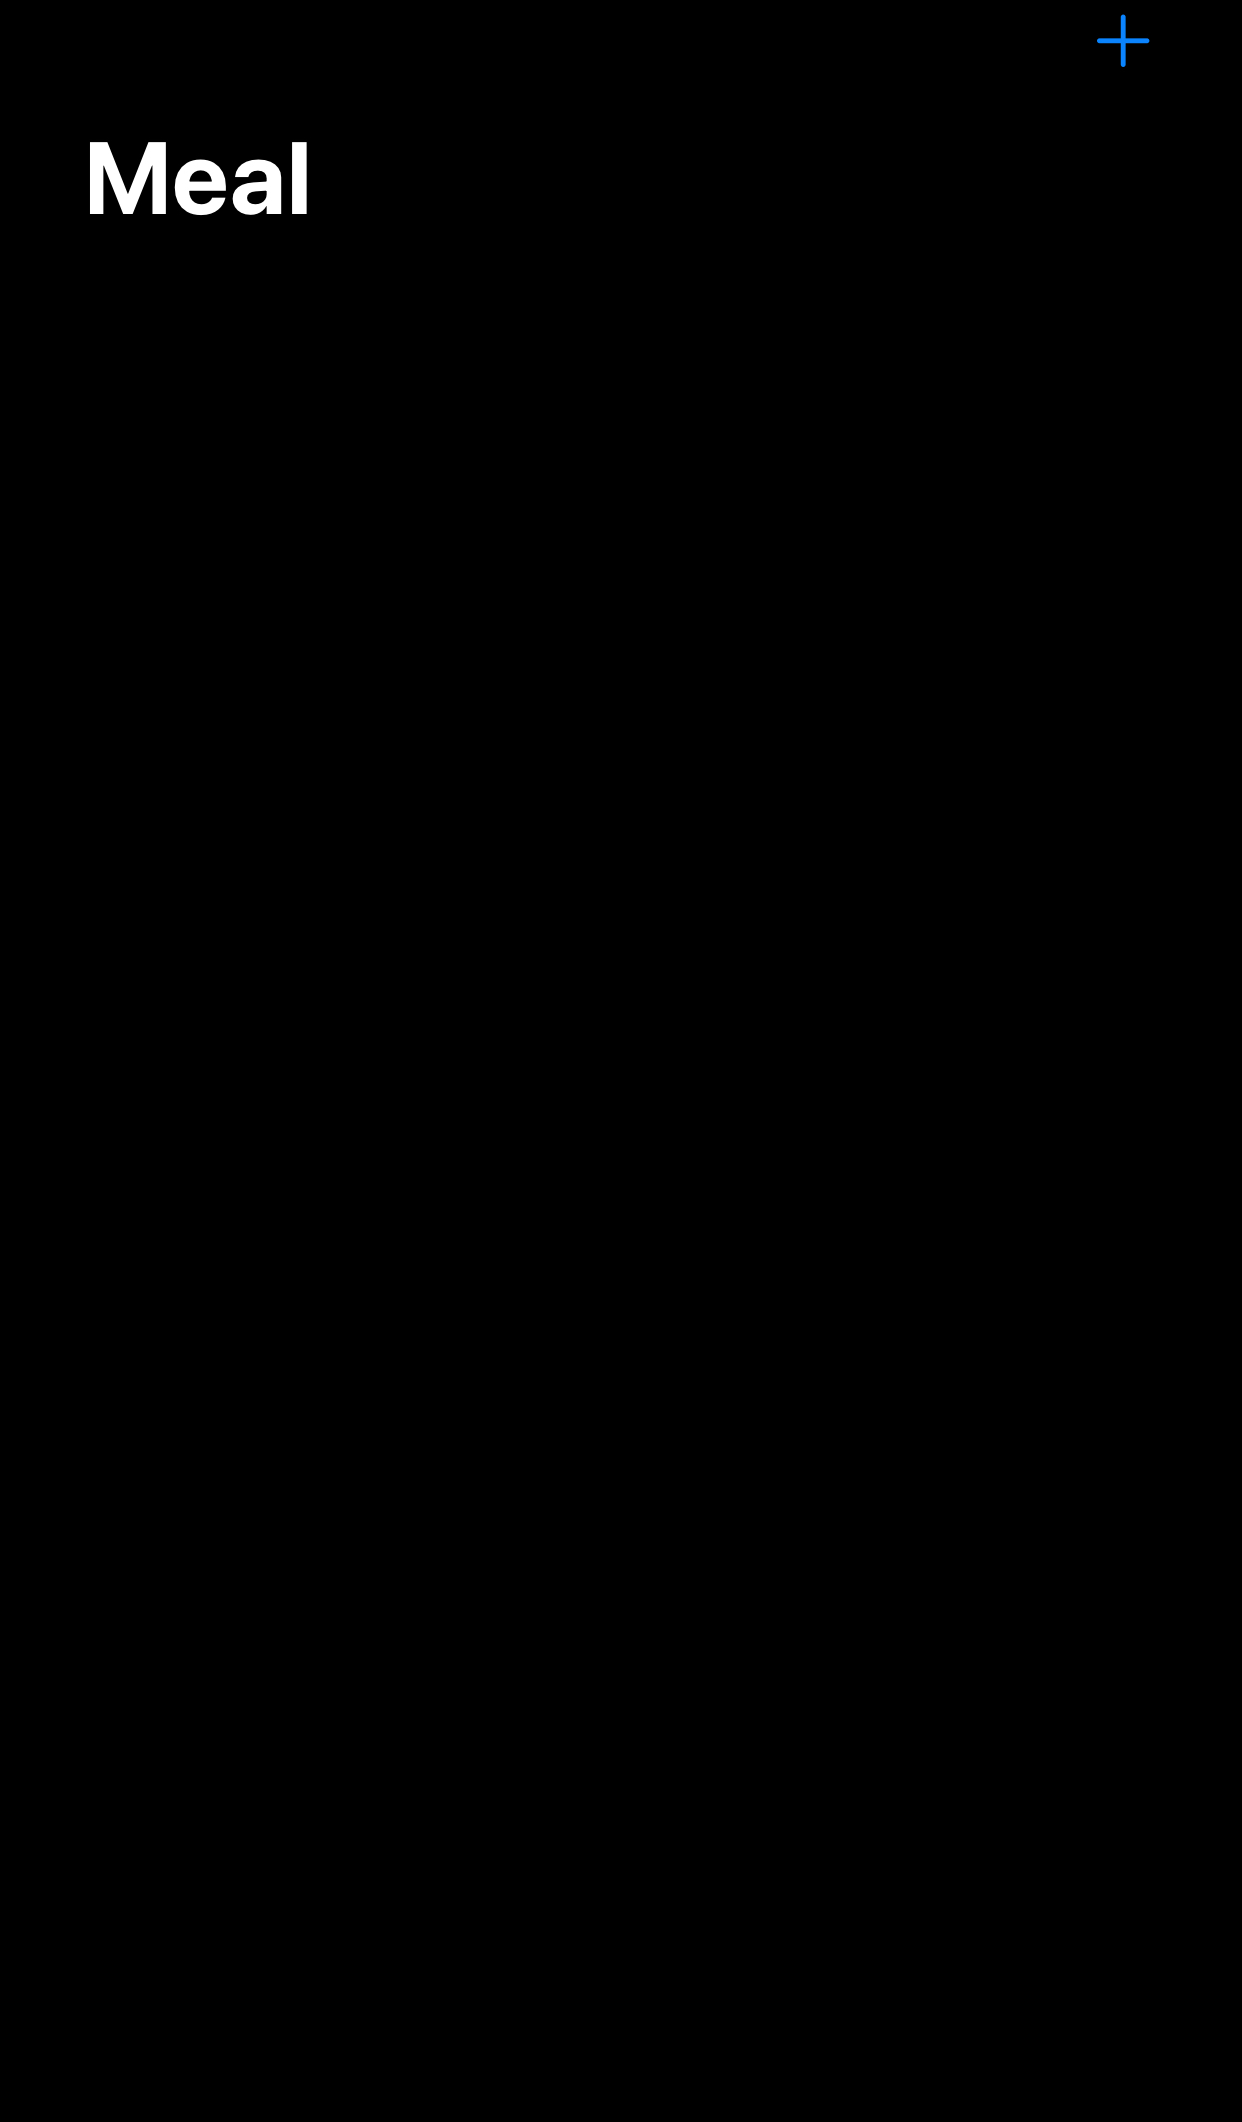
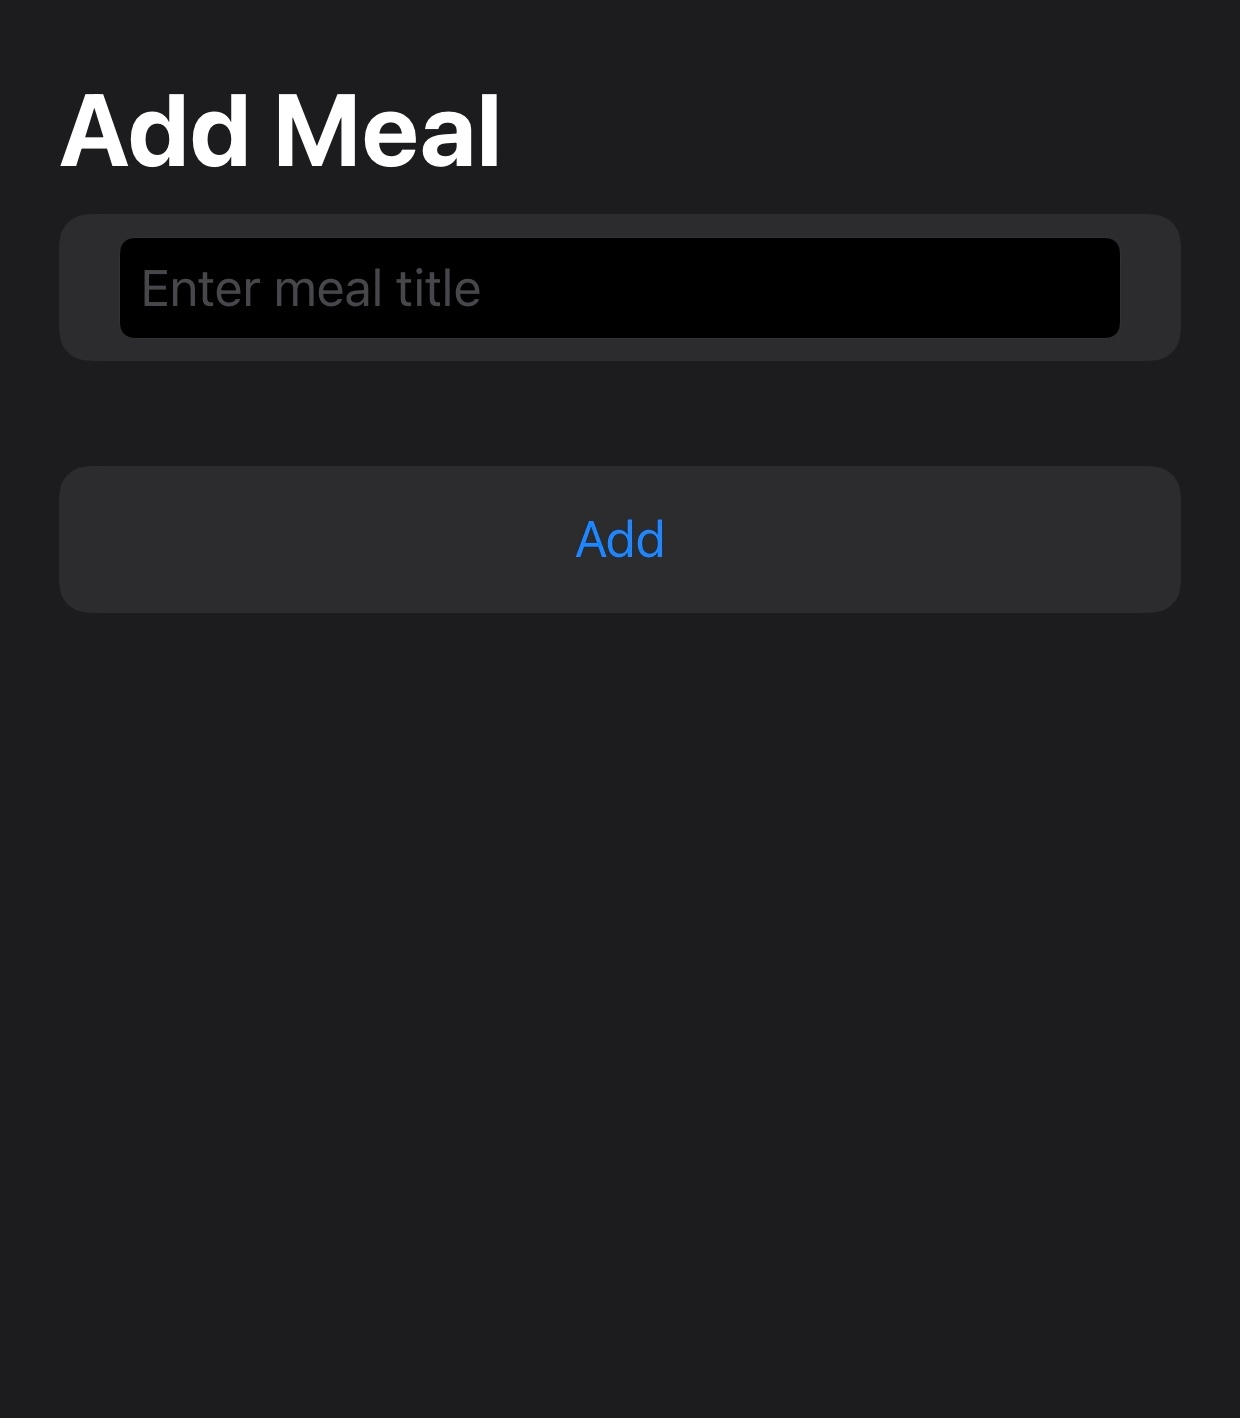
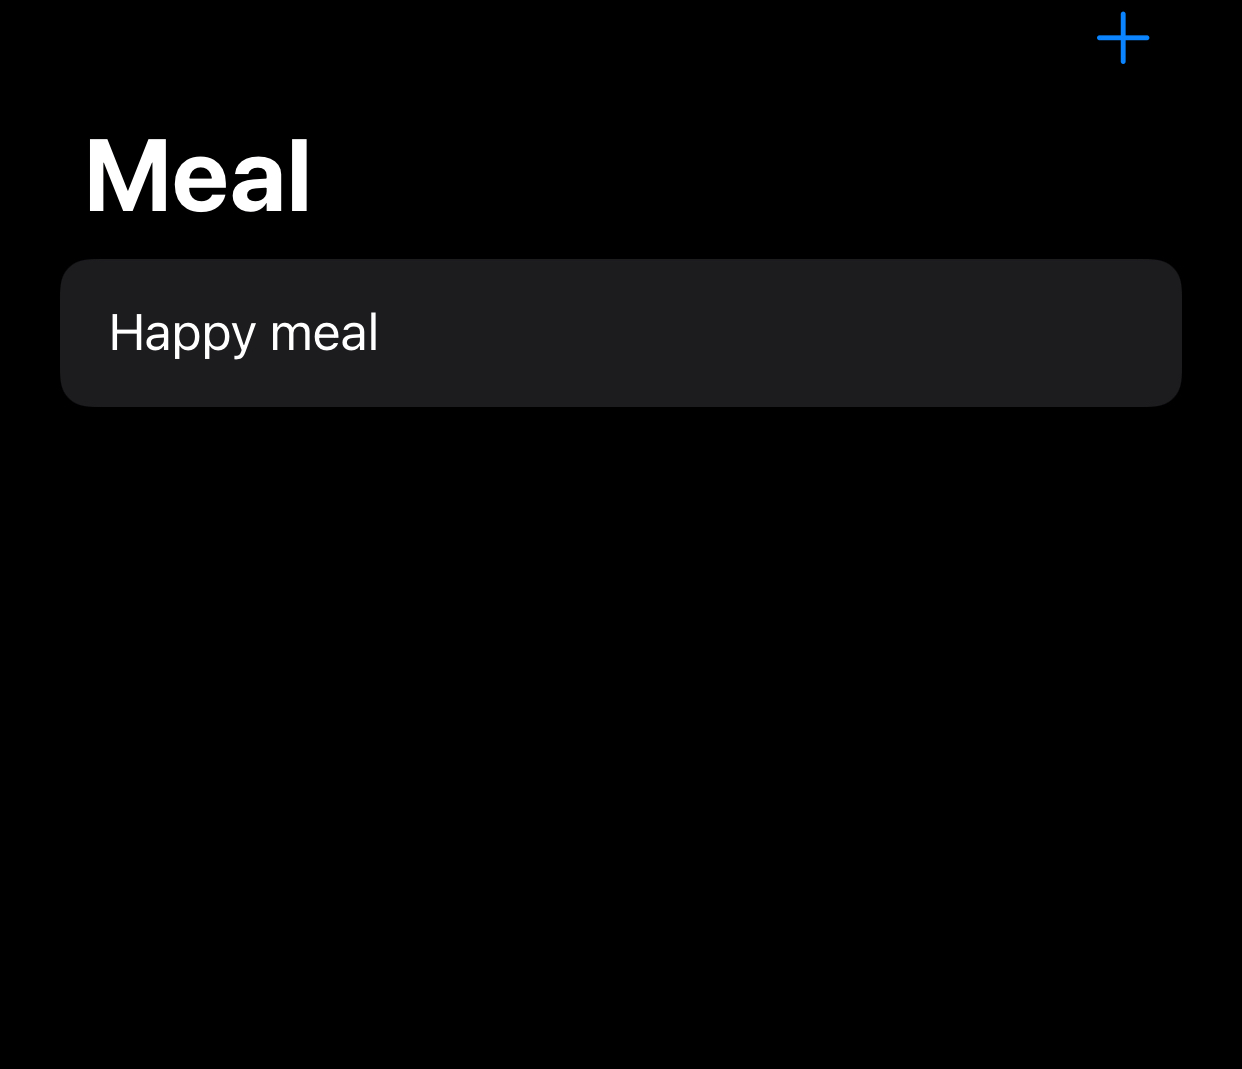
Visual representation of the code above:
Now let’s begin with the test cases:
-
Go to file → new → Target
-
Search test
-
Choose UI Testing Bundle
In the AppNameUITests file
Step 1: Import XCTest
XCTest, in simple term, is a framework provided by Xcode to facilitate test writing and execution
Step 2: Create a class that inherits from XCTestCase.
Step 3: Write the test functions
-
We first need to launch the app
- To access the app we need to create an instance of the class XCUIApplication()
	let app = XCUIApplication()
	app.launch()
b. To add a new meal, we need to tap on the “+” button with identifier “showAddMealButton”
let addMealButton = app.buttons["showAddMealButton"]
		addMealButton.tap()
c. To write tests, we need to evaluate each component’s expectation. Likewise, the addMealButton’s expectation is to show a modal.
To know if the modal screen is present, we added an identifier in our NavigationBarTitle in our ui. This way, if the title is present it means the modal screen is in view.
let addMealNavBarTitle = app.staticTexts["Add Meal"]d. The modal sliding up/down is an animation which may take some seconds. therefore we need to assess for this duration too else our test will timeout
So we await for the title’s existence for 1.0. Failing to exist will also result in failure of this test case.
XCTAssert(addMealNavBarTitle.waitForExistence(timeout: 1.0))Full Code:
import XCTest

class test_full_app_function: XCTestCase {

	func test_should_make_sure_meal_is_added_to_list() {

	  let app = XCUIApplication()
	  app.launch()

	  let addNewMealButton = app.buttons["showAddMealButton"]
	  addNewMealButton.tap()

	  let addMealNavBarTitle = app.staticTexts["Add Meal"]
	  XCTAssert(addMealNavBarTitle.waitForExistence(timeout: 1.0))

	  let mealTextField = app.textFields["addMealTextField"]
	  mealTextField.tap()
	  mealTextField.typeText("Happy meal")

	  let addMealButton = app.buttons["addMealButton"]
	  addMealButton.tap()

	  let mealList = app.tables["mealList"]
	  let _ = mealList.waitForExistence(timeout: 1.0)

	 let totalMealItems = mealList.descendants(matching:
           .staticText).count

	XCTAssertEqual(1, totalMealItems)
     }
}